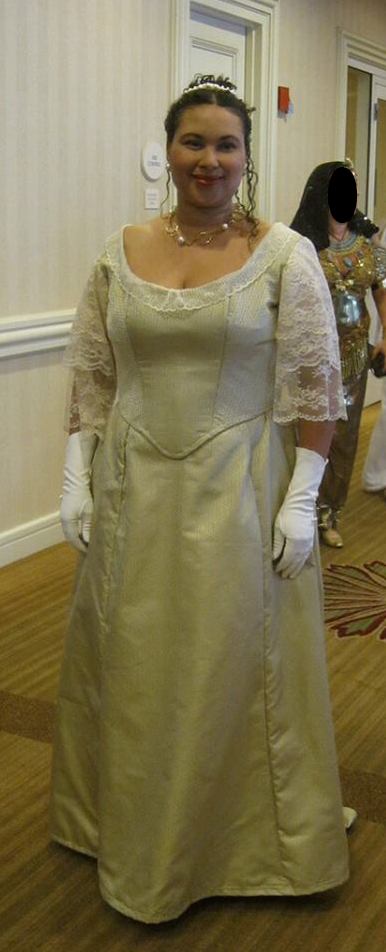
Balayeuse? What’s that, you ask? And why would I need it? Well, if you’re making a trained gown, particularly one from the Late Victorian period, you would definitely need it to keep your train from getting filthy after dragging along the ground!
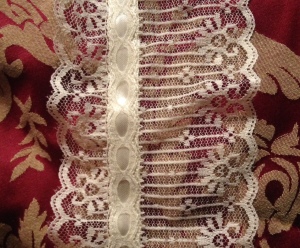
Balayeuse is a French word that literally means “street sweeper” – in costuming terminology, it refers to a layer of ruffles tacked onto the underside of a gown’s train, the idea being that dirt and grime will coat the ruffles and not the gown itself. After a particularly hard wearing, it would be removed and either thrown away and replaced with a new one (if you were wealthy) or cleaned and sewn back on (if you weren’t). A balayeuse was often made out of gathered fabric, eyelet or lace and sewn on over the hem facing. White seems to be the preferred color, though again if you weren’t wealthy you might have chosen black to get a few wearings out of it before needing to wash or replace it.
Here are a few pictures of historical gowns to give you an idea of what a balayeuse looked like:
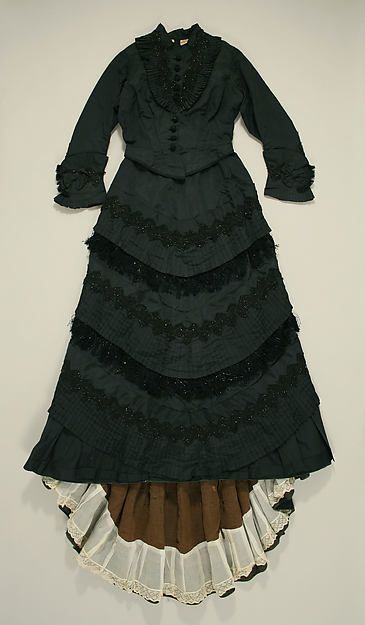
1875 Dress
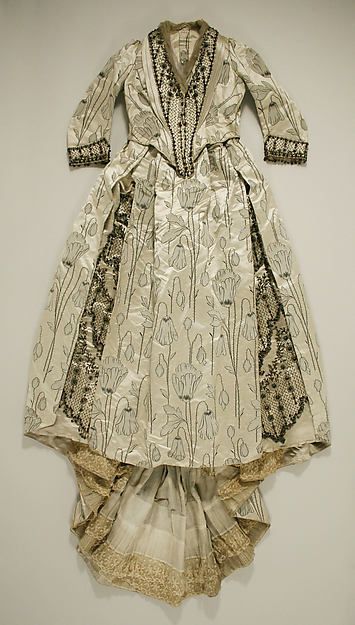
1885 Dress
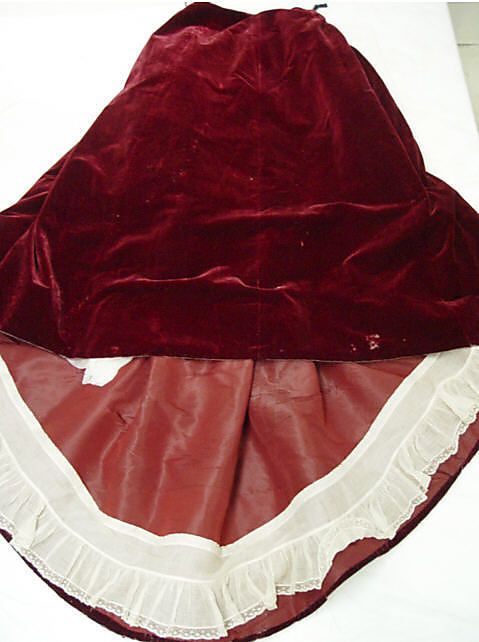
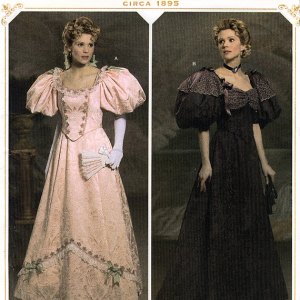
Detail from 1895 Dress
In order to replace a balayeuse, you or your seamstress simply cut the stitches of the existing one, and to replace it you sewed it back on. As you can imagine, this was rather tedious if it needed to be done practically every time the dress was worn. But of course to the Victorian seamstress, who was necessarily good at hand sewing, this would be no more tiresome than your average load of mending.
However, to the average modern seamstress (like me!) who is probably not too speedy at hand sewing, having to rip out and sew back 4+ yards of trim can be kind of annoying.
That’s why I’ve come up with a handy hack to make the process of replacing a worn/dirty balayeuse easier. This hack is not an historically accurate technique as far as I am aware, but it creates a reasonably historically accurate silhouette. And what’s better, it involves items that can be readily purchased at a “big box” fabric store.
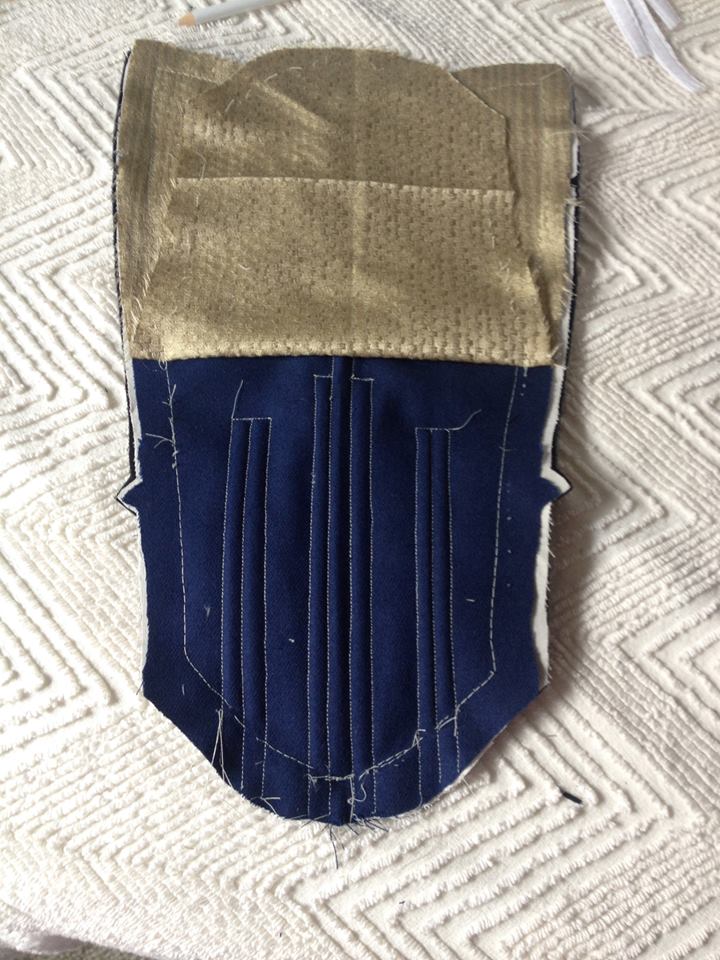
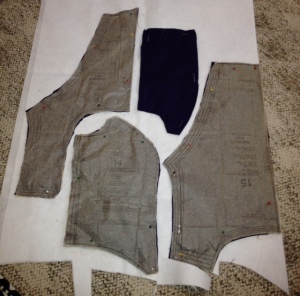
Here’s what you’ll need:
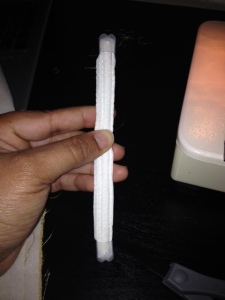
- A pack of 2″ satin blanket binding (optional if you already have your hem facing)
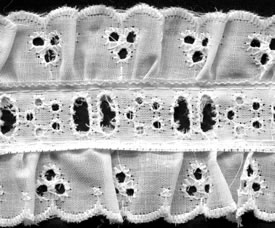
- Several yards of gathered, beaded eyelet or lace trim, the wider the better. Beading means it has holes in the middle for threading ribbon. It doesn’t have to be double edged like the picture shown below, I just liked the look of the double ruffles. (If you can’t find any that’s pre-gathered, you can always just gather your own.)
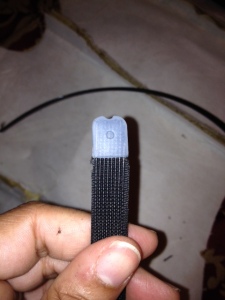
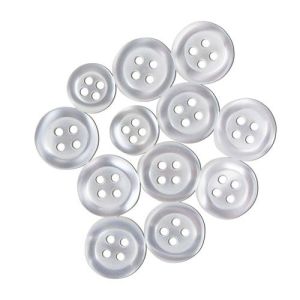
- Several dozen buttons that are just small enough to fit through the beading holes in the eyelet – 2 hole, 4 hole, ball, doesn’t matter what type of button as long as the fit is tight enough to prevent them from accidentally slipping out
Ok, here’s what to do:
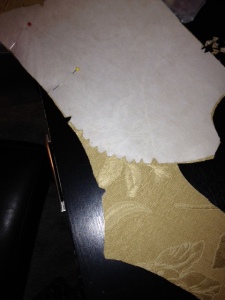
- Pre-wash the trim if it’s made of a natural fabric like cotton or linen.
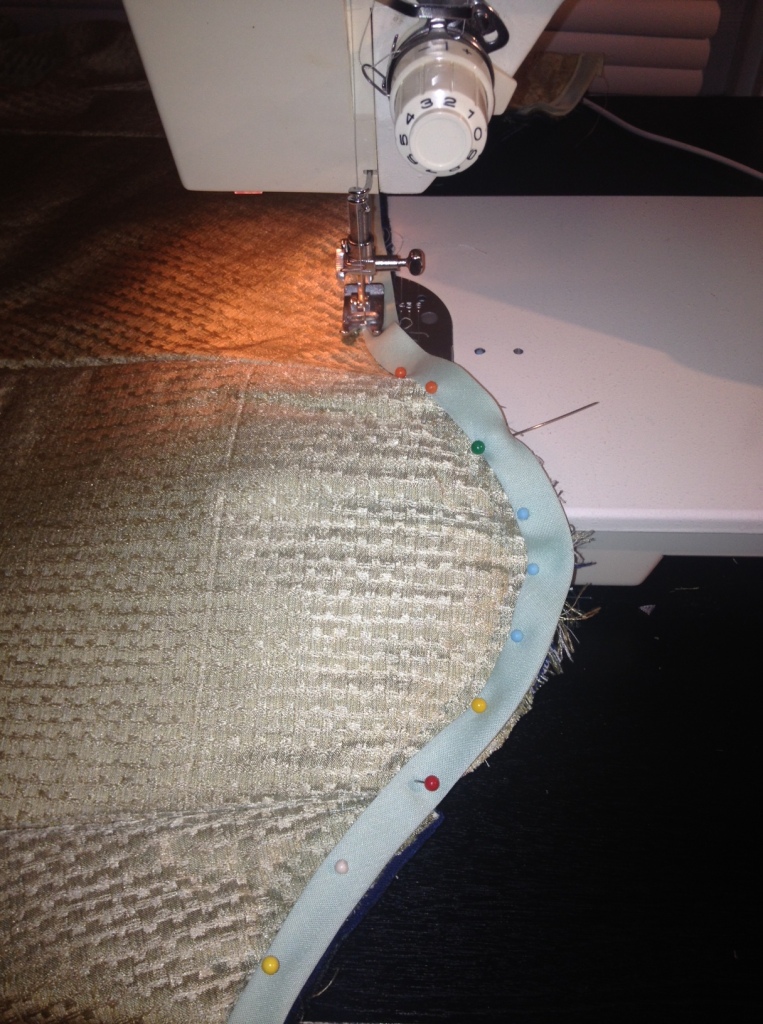
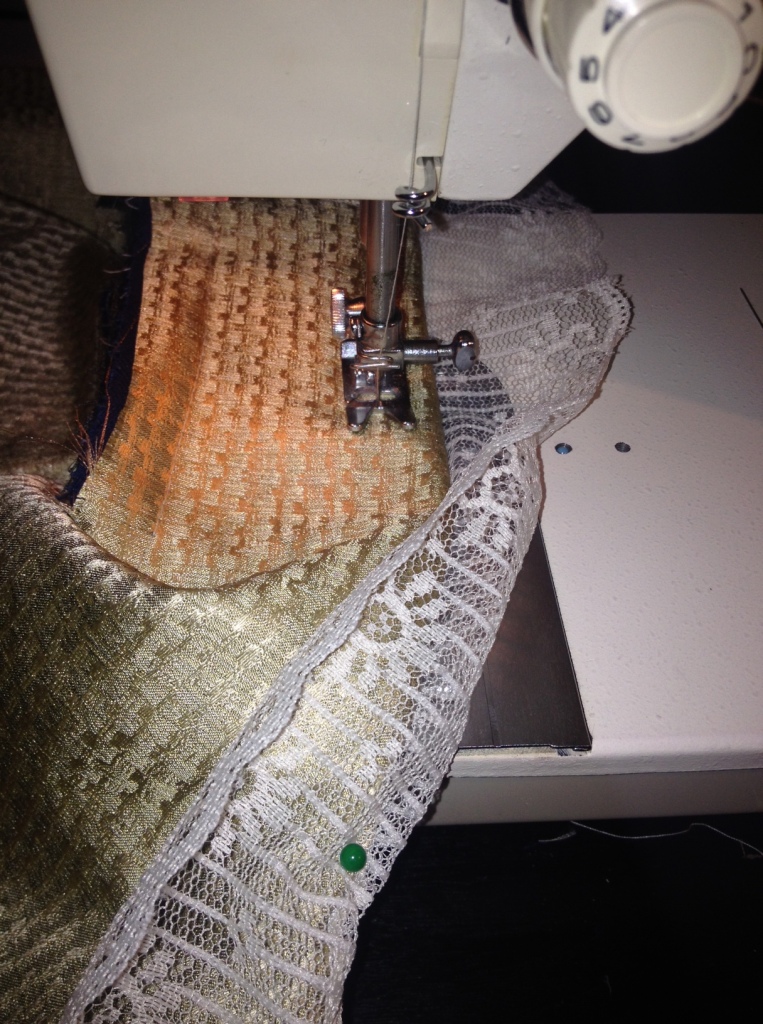
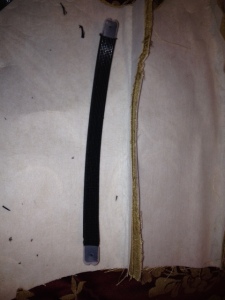
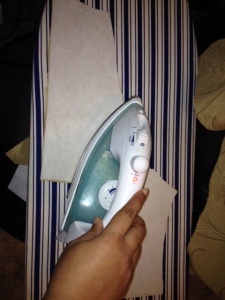
- Iron open the satin blanket binding to create a 4″ wide hem facing. Baste one edge of the facing to the lower edge of your hem. (Or if you’re lazy like me, feel free to use stitchwitchery.)
- Using the beading holes in the lace or eyelet trim as your guide, sew the buttons along the hem facing at regular intervals (I’d suggest no more than 4-5 inches apart).
- “Button” the trim onto the hem facing using the buttons you just added.
- Finish the ends of the trim however you like.
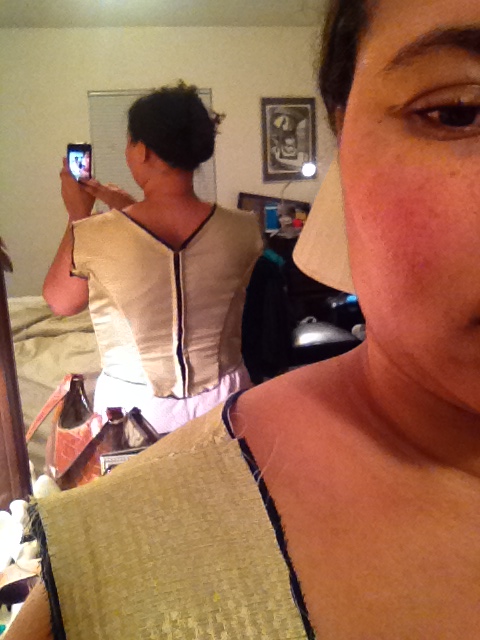
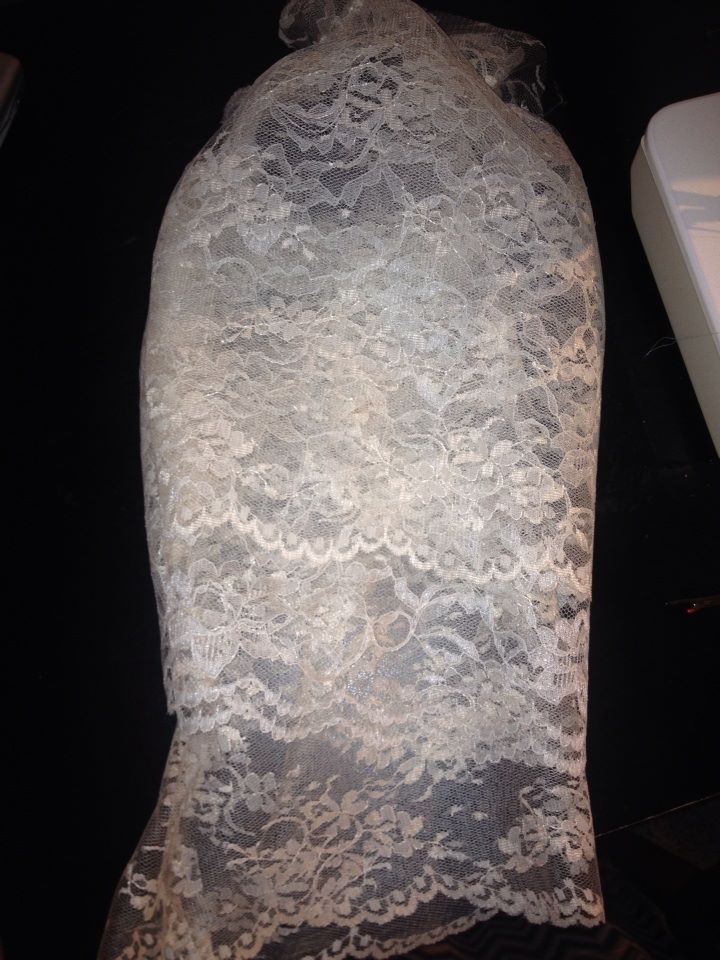
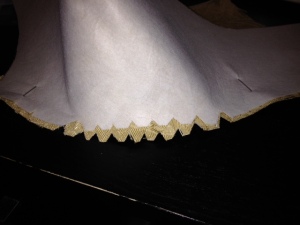
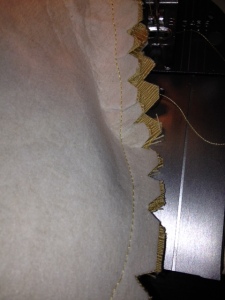
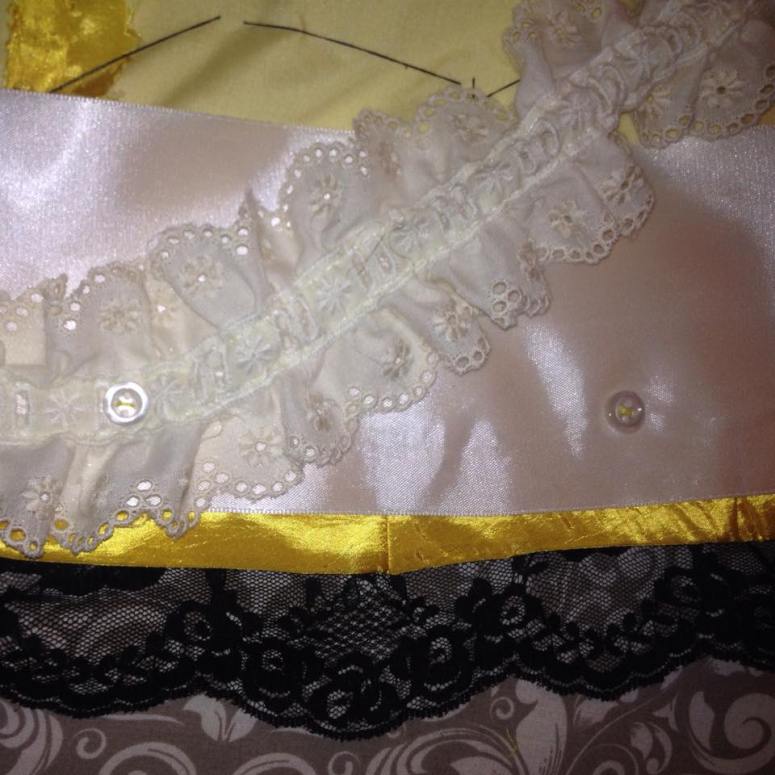
Here’s a picture of mine in progress (the edge of the yellow gown’s hem is along the bottom). I plan to add more buttons and a second layer of eyelet trim just inside the one pictured, so that I have a balayeuse roughly as wide as the ones in the historical garments shown above. (If you can find a wider trim than I did, go for it!)
And that’s it! Now when the trim gets dirty, you can just unbutton it, wash it (hopefully you pre-washed your natural fabric trim it so it doesn’t shrink!) and button it back on. If it gets torn beyond the possibility of mending, you can easily replace it by buttoning on a new length of trim from your stash. No additional sewing necessary beyond adding the hem facing and the buttons when you first created it!
Let me know what you think of my balayeuse hack: questions and comments are most welcome. Happy Sewing everyone!