I sewed the underskirt using Butterick 5757. For some reason this is the only picture I took of that process, and I don’t even remember what I was doing here. Pulling the elastic through the waist, maybe? Anyways, f you want to know how I did the elastic waistband take a look here at the last time I used this skirt pattern.
Next, I realized that the overskirt was far wider than the bodice, so I needed to either gather or pleat. My outer fabric is far too thick for gathering with the gold thread I had, so I opted for pleats. I spent about half an hour getting the beautiful pleats in the picture below, only to pin the bodice to it and realize I was way off center. Grr…
So I re-did them, making sure this time to mark the center of the skirt with a pin and to form the pleats around it. Then after double checking that everything was hunky-dory, I basted them. Here’s what the properly centered pleats looked like when I was done:
And here’s what they looked like pinned to the bodice (before ironing):
Finally, I was ready to sew the overskirt to the bodice and be done! This turned out to be a nightmare. I’d long stopped following any sort of instructions at this point, because I used separate bodice and skirt patterns, so there weren’t any instructions on how to sew the two together.
What I ended up doing is slipping the unfinished top inch of the overskirt inbetween the bodice lining and bodice outer fabric, then turning under the bodice lining and outer fabric a half inch and sewing the whole shebang together. This sounds tricky, and it was. Unfortunately I have no pictures of it really, except this one below. The purple is the bodice lining and the gold is the overskirt. You can sort of see that the gold overskirt is underneath the purple bodice lining,,which is turned under, and underneath all of that is the bodice outer fabric.
I should mention that I originally botched this step completely and had to rip out my seams. I then freaked out that it was ruined and took everything to mom, who patiently hand-basted the overskirt and the bodice together while I calmed down, and then I was able to do the final machine stitch.
Shout out to my mom for being TOTALLY AMAZING, and for being the body model two pics up!
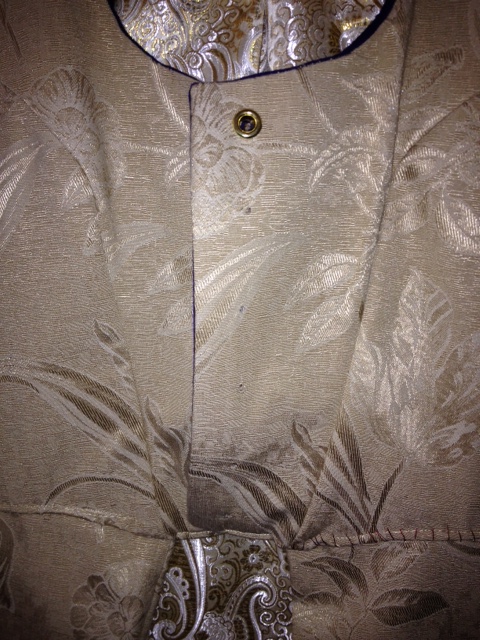
Last but not least, grommets! I used a standard pair of Dritz Eyelet Pliers and some gold grommets to make 6 holes on each side. Here you can see the tiny holes (which I widened by forcing through a pair of small pointed scissors) vs a finished grommet at the top:
And here’s an upclose shot of more grommets with lacing (and also a good view of my fabrics):

…and then I was done. Here’s the finished dress in a side-by-side comparison with its inspiration, the Pendragon Desree Dress. Took me nearly 20 hours from cutting the pattern pieces to sewing the last stitch, but I had a tremendous amount of fun along the way!
In retrospect, I probably should have done a gored skirt to get more fullness near the bottom, but oh well.
The important thing is that I now have a simple Renaissance Faire overdress that I can mix and match with chemises and skirts of all colors to create tons of exciting costume combinations!


